
This week is National Book Week. I chose to showcase this wonderful event because supporting literature, reading, and literacy is important to me. Reading and literature cultivates society to openness, caring, and compassion. Above that, it can teleport you to another world and provides a view from a different angle. What better way to celebrate books and literature than by creating a bookmark? Besides reading a book of course.
Bookmarks are versatile whether made with yarn, thread, or paper. For this project, I am using paper. I am using a technique that you have seen on this blog and will see in the future - pigment ink daubing. I am sure there is another term for that. I don't mind making up names for things!
Materials
Paper cutter or scissors
Ruler
Pen (if you don't use a paper cutter with a ruler attached)
One main color (backing)
A sheet of white card stock
A small section of ribbon (optional)
A laminator
A laminator sheet
A hole punch
Sponge Daubers
Pigment ink
A stamp if you want that
StazOn Jet Black ink (for stamp)
Acrylic block (for stamp)
Here's a picture of the daubers, stamp, and ink I used:


5. Pick a third color (if you wish) and do the same as step 4. I chose blue and green to mix giving it a pale teal look.


8. Now, adhere the stamped images onto the 2nd layer by using tape. This is a Scotch Tape glider. I chose to place mine in the middle and at the top.

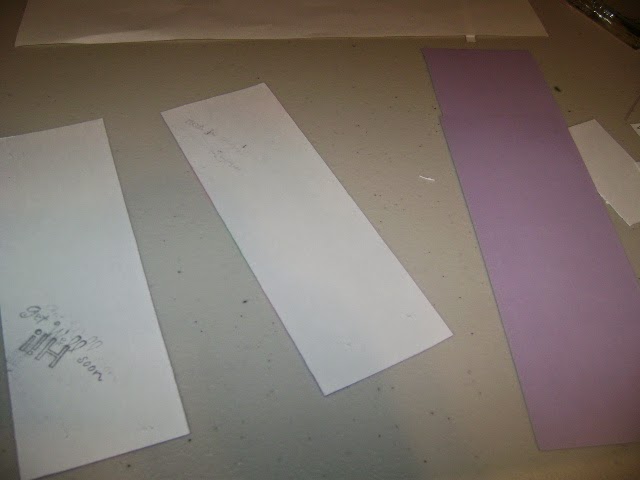
9. Attach tape to the back of the 2nd layer and attach them to the base color. (Here's the purple base layers.)

From Dande Creations, I wish you a happy National Book week and urge you to get lost in a book after you finish crafting some bookmarks!
Bookmarks are versatile whether made with yarn, thread, or paper. For this project, I am using paper. I am using a technique that you have seen on this blog and will see in the future - pigment ink daubing. I am sure there is another term for that. I don't mind making up names for things!
Materials
Paper cutter or scissors
Ruler
Pen (if you don't use a paper cutter with a ruler attached)
One main color (backing)
A sheet of white card stock
A small section of ribbon (optional)
A laminator
A laminator sheet
A hole punch
Sponge Daubers
Pigment ink
A stamp if you want that
StazOn Jet Black ink (for stamp)
Acrylic block (for stamp)
Here's a picture of the daubers, stamp, and ink I used:
1. What you do first is cut two your base layer at 6 1/4 x 2 1/4. I used a light purple. This is not pictured; however, you can see the cut pieces further below.
2. Next, cut two white pieces of card stock at 6 x 2. Adhere with temporary tape to a piece of white paper. You can alternatively just hold the piece of paper. This is what I do.
3. Using the pigment ink and the sponge daubers, pick a color and begin moving in a circular motion in the spot you want. I usually choose the corners. My first color is purple. Pictured below.
4. Pick another color and do the same, but blend the color into the previous one. My second color is pink.
Here's a picture of picking up ink using the dauber.
5. Pick a third color (if you wish) and do the same as step 4. I chose blue and green to mix giving it a pale teal look.
And the 2nd layer is finished.
6. Cut two pieces of white card stock at 3 x 1 3/4. (Or, measure one to fit the stamp you use.) This measurement is for the flower stamp. If you are interested, I found this stamp at JoAnn's online and had it shipped to my house
7. With StazOn Jet Black ink, stamp the image onto both pieces of cardstock.
9. Attach tape to the back of the 2nd layer and attach them to the base color. (Here's the purple base layers.)
10. When you have finished, send them through a laminator following the instructions provided by the machine. If you want to add ribbon, punch a hole into the top of the card after laminating and add ribbon. I chose not to do so at this time, but may add some ribbon when I find the right one.
No comments:
Post a Comment